It you haven’t been playing along a home, you might want to start now. It’s easy and cheap-free on the micro instance. In the words of E2C for Poets, this is what it is all about:
There’s this great service called EC2 run by Amazon, the same Amazon you can buy books and refrigerators from.
EC2 allows you to create your own server in Amazon’s server farm located somewhere “up there” in the clouds. It could be in Montana or New Jersey or Europe. You don’t have to know or care where the server is.
You also don’t have to talk to anyone to create a server. And when you’re done with it, just shut it off. You only pay for what you use. And it doesn’t cost very much. If you run a server for 8 hours it costs about $1. Update: For some people it’s free for a year!
If you’ve ever purchased anything at Amazon, you’re all set. And if you haven’t, all you need is a credit card.
I think any reasonably knowledgeable user could set up a server this way. You might have to scratch your head, or read the instructions two or three times to get past the hardest parts. But you don’t have to be an math major to pull it off.
Let’s do this thing.
Requirements
- account at Amazon
- desktop or laptop computer
- 10-60 minutes
Login to AWS
- go to http://aws.amazon.com/

- create a free account
- login!
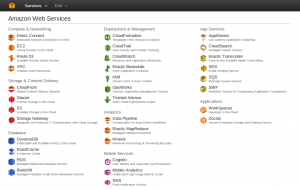
Sign up for S3 (storage) and EC2 (a server)
- go to http://aws.amazon.com/s3/ for storage space

- go to http://aws.amazon.com/ec2/ for server instances

Make your Key Pair
- go to https://console.aws.amazon.com/ec2
- look at the E2C Dashboard on the left hand side
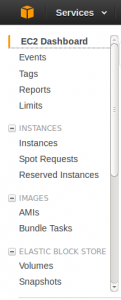
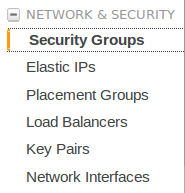
- scroll down to “NETWORK & SECURITY”
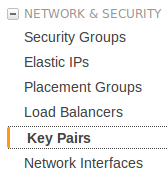
- click on “Key Pairs”
- it’s blank!
- click the big, blue button that says “Create Key Pair”

- give your key pair a name
- save the lovely file AWS gives you
Create a Security Group
- go to https://console.aws.amazon.com/ec2
- look at the E2C Dashboard on the left hand side
- scroll down to “NETWORK & SECURITY”
- click on “Security Groups”
- it’s blank!
- click the big, blue button that says “Create Security Group”

- give your security group a name, description, and use the default VPC
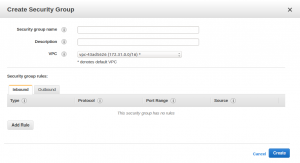
- horray!
You’re Done. What Now?
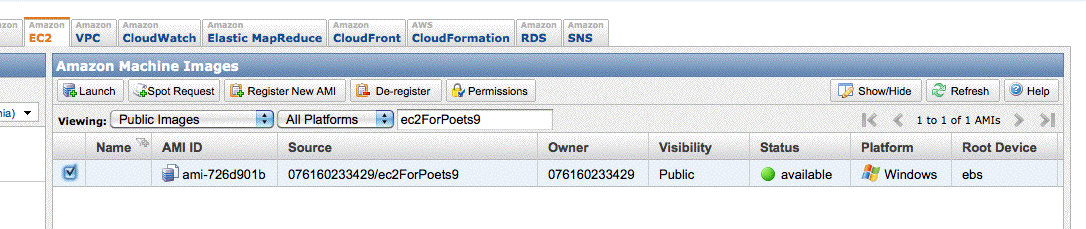
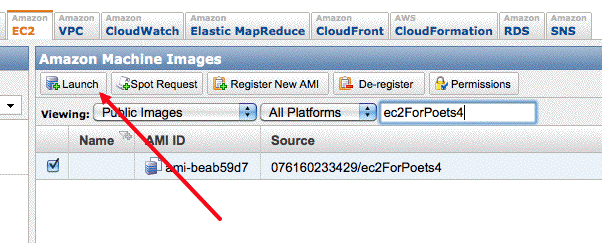
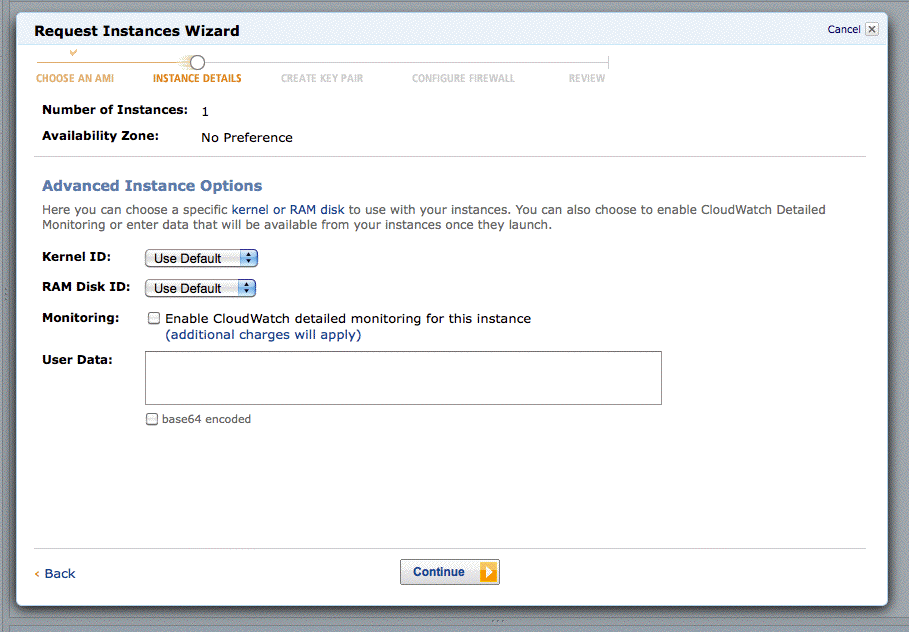
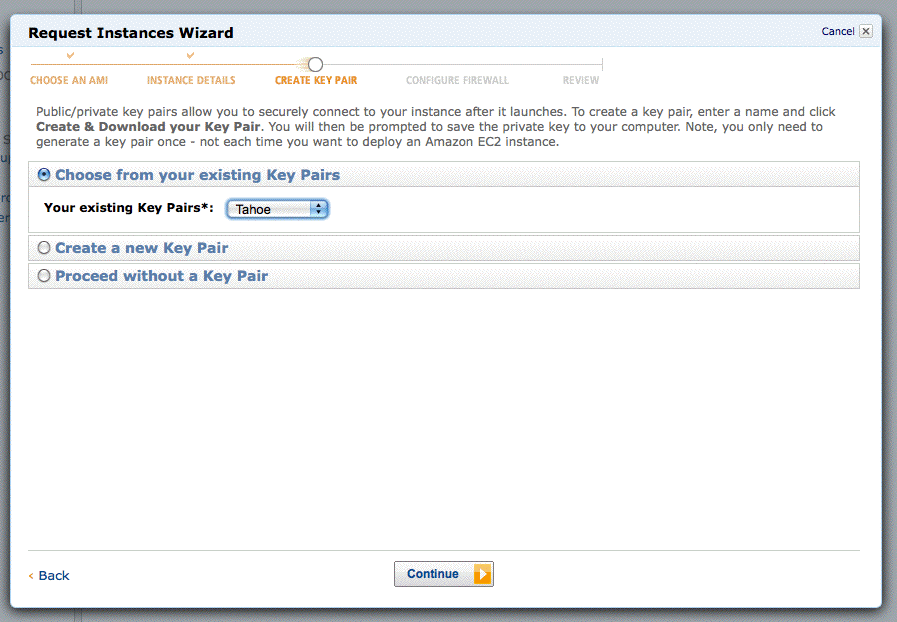
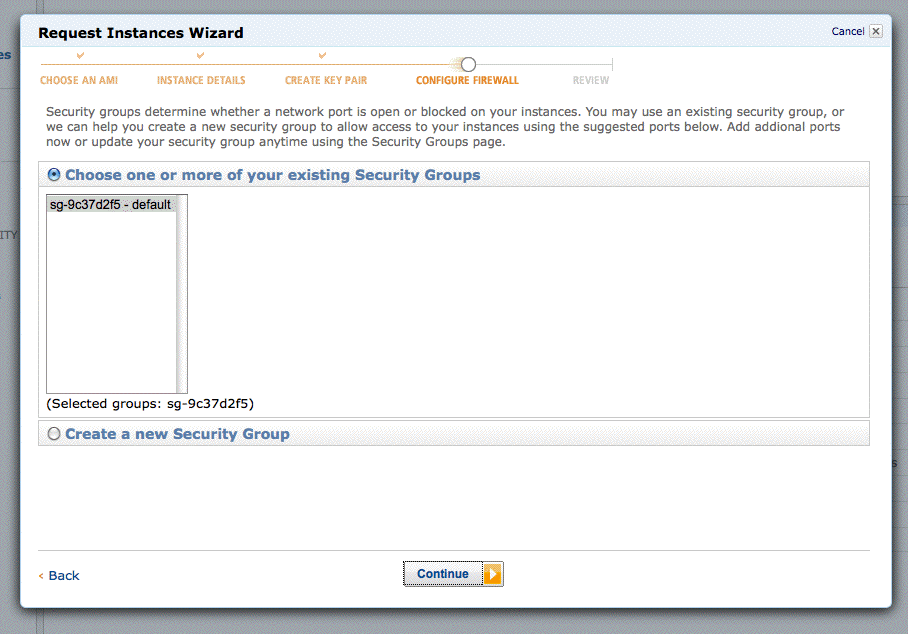
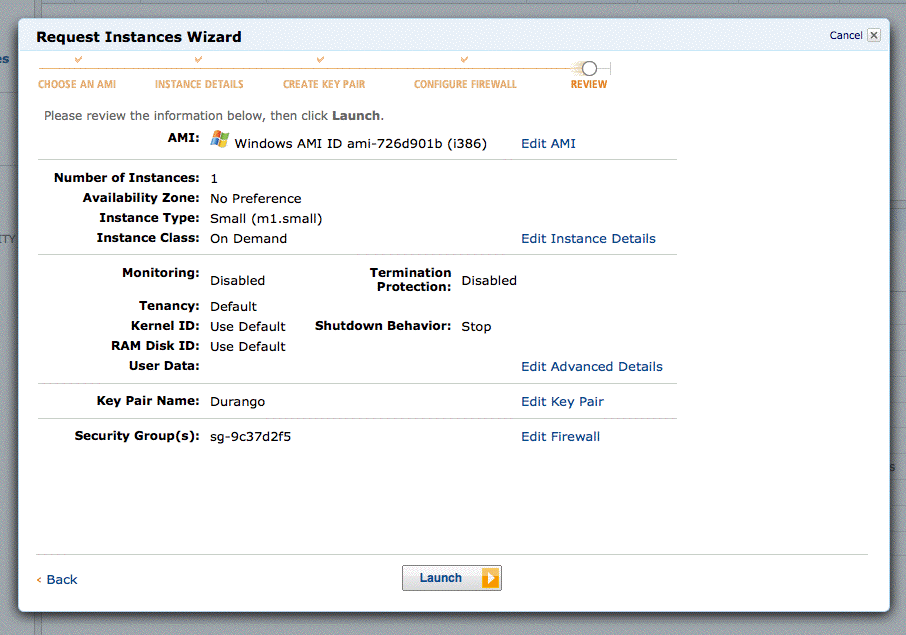
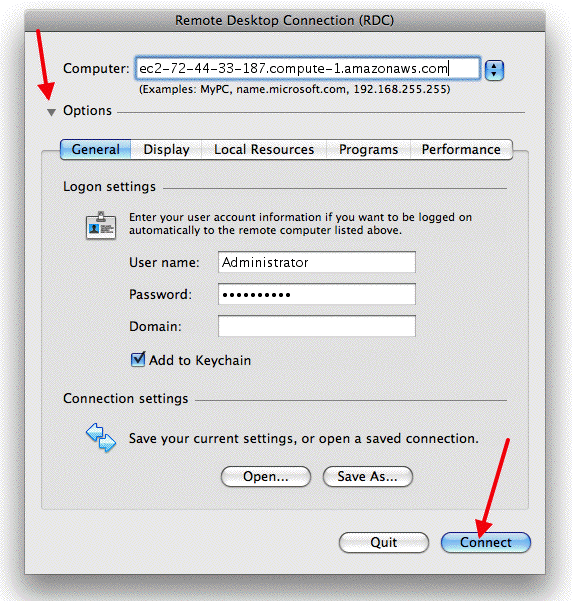
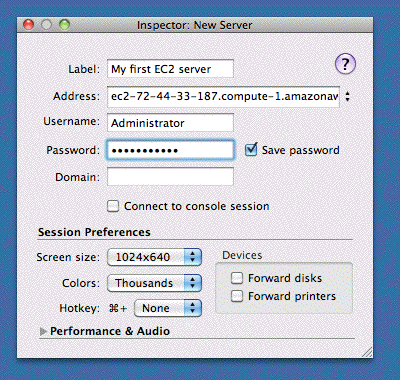
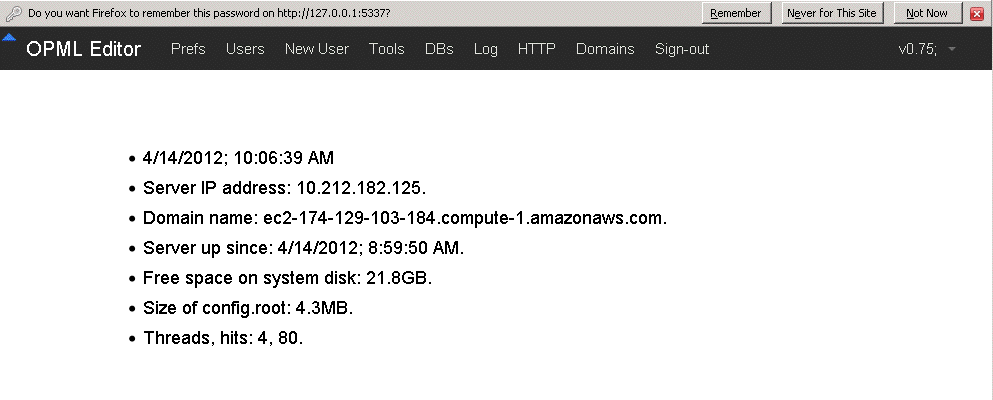
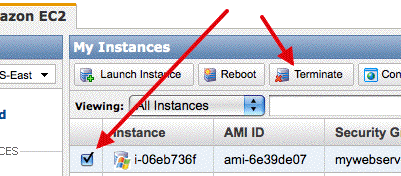
Horray! You are set up! What to do now? If you have an application you have written, I suggest you serve it. If you are just playing along at home for fun, I recommend the e2c.forpoets.org tutorial using the Hello World app. Part of the tutorial is shown below:
In the next step you will not be able to find my AMI unless you tell Amazon you’re in the US East region.
(go read the whole thing at ec2.forpoets.org)
(go read the whole thing at ec2.forpoets.org)
(go read the whole thing at ec2.forpoets.org)

Look to e2c.forpoets.org demo above or the bonzai demo for more info about setting up an AWS server.
A typographic, designological, visulicious extravaganza!